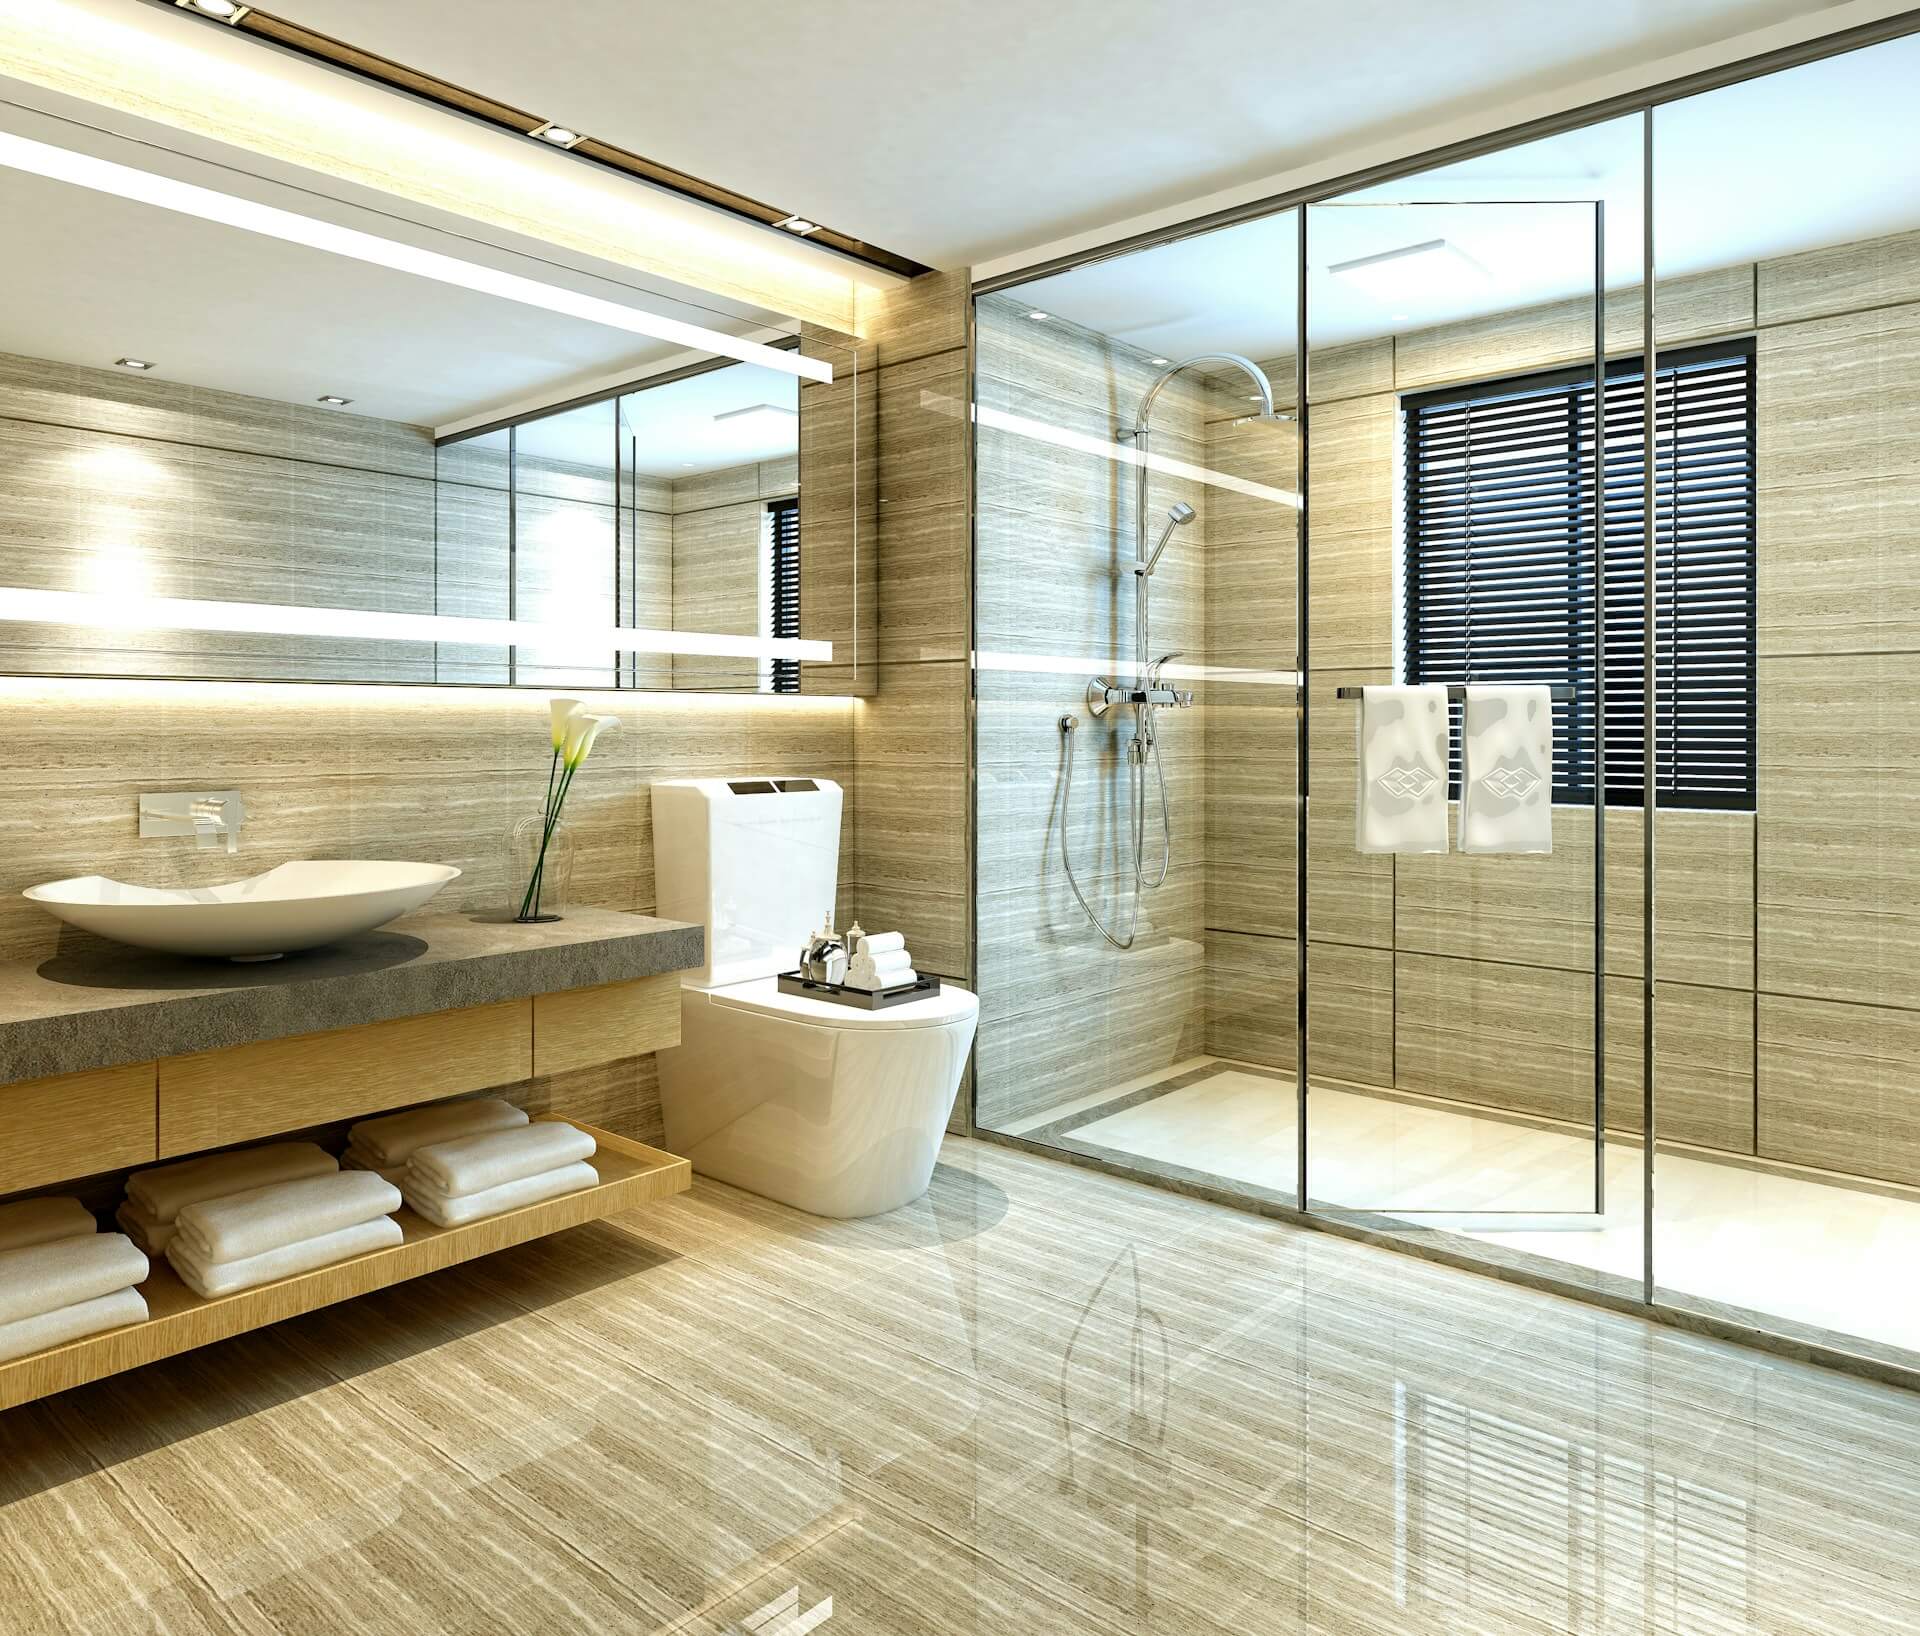
Water and wood don’t always get along, especially in a bathroom. With steam from showers, splashes near the sink, and fluctuating humidity, bathroom shutters are constantly exposed to damp conditions. Over time, that moisture can take its toll, leaving shutters warped, cracked, or peeling. While it’s a common issue, leaving water damage unchecked can lead to bigger problems and more costly fixes.
Getting on top of the damage early helps keep your shutters looking good and working properly. Whether the damage is recent or has been building up slowly, a few targeted solutions can make a big difference. That said, when it comes to long-term protection, choosing moisture-resistant shutters for the bathroom helps avoid these headaches in the first place. But if the damage is already done, here’s how to spot it and what you can do straight away to limit the impact.
Identifying Water Damage In Bathroom Shutters
Before you try to fix anything, it helps to know exactly what you’re looking at. Bathroom shutters can show signs of water exposure in different ways, depending on the type of material and how long the moisture has been soaking in. Some issues are easy to overlook until they get worse. That’s why a quick check now and then is a good habit.
Here are a few signs that suggest your bathroom shutters have taken on some water:
– Peeling paint or a finish that starts bubbling
– Dark stains showing up along edges or corners
– Warped or swollen slats that don’t shut evenly
– Musty smell that doesn’t go away after airing out the room
– Loose joints or panels that suddenly feel wobbly
Minor water damage might only affect the surface, like chipping or flaking paint, which can be sorted fairly quickly. But if you spot chunks of wood lifting at the ends or bits that have softened enough to dent with your nail, the damage is deeper. At that point, a quick clean and repaint probably won’t be enough, and it could be time to think about replacing individual panels or the full frame.
Of course, if you’re unsure about the extent of the damage, it’s better not to guess. Taking note of how the shutters open, close, and hold their shape each time you clean them can help you catch any changes early on. A warped slat here or swollen base there doesn’t mean the whole thing is done for, but it does mean you’ll need to do something soon to stop it getting worse.
Quick Fixes For Minor Water Damage
If the damage is still in the early stages, there’s a good chance it can be managed with just a bit of care and effort. Minor peeling, surface stains, or slight warping don’t always require full replacement. The steps below can help keep things under control before they get worse.
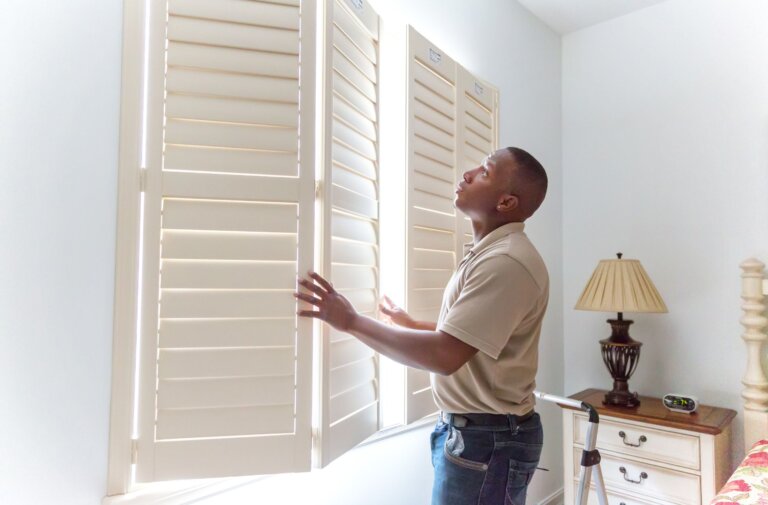
1. Dry the shutters fully
Use a fan or open the windows to remove any moisture from the air. If the shutters feel damp, wipe them down with a microfibre cloth. Avoid heat guns or hair dryers, as they can cause warping.
2. Sand off rough patches
If the paint is flaking or bubbling, use fine-grit sandpaper to smooth out the affected areas. Don’t scrub too hard. The goal is even texture, not bare wood.
3. Apply wood filler for small dents or chips
If there are surface cracks or shallow pits, a bit of wood filler can help restore the original shape. Let it dry fully, then sand again for a flush finish.
4. Repaint or seal
Use a paint suitable for high-moisture areas, preferably one that creates a protective barrier. Matte finishes tend to highlight flaws, so consider satin or semi-gloss for smoother results.
5. Check moving parts
Clean any build-up from hinges, magnets, or tilt rods. A drop of lubricant can help refresh movement and prevent future sticking.
Even with light touch-ups, matching the finish across all panels can be tricky, especially if the shutters haven’t been painted in a while. Keep leftover paint or colour notes handy after any shutter update to make blending easier down the line.
Preventative Measures To Avoid Future Water Damage
The best way to deal with water damage is to keep it from happening again. Once you’ve handled the minor fixes, it’s worth updating your setup with a few practical changes. Bathrooms in areas like Manchester, where humidity can peak even in spring, benefit from a mix of the right materials, good air flow, and steady maintenance.
Here are a few ways to help protect your shutters going forward:
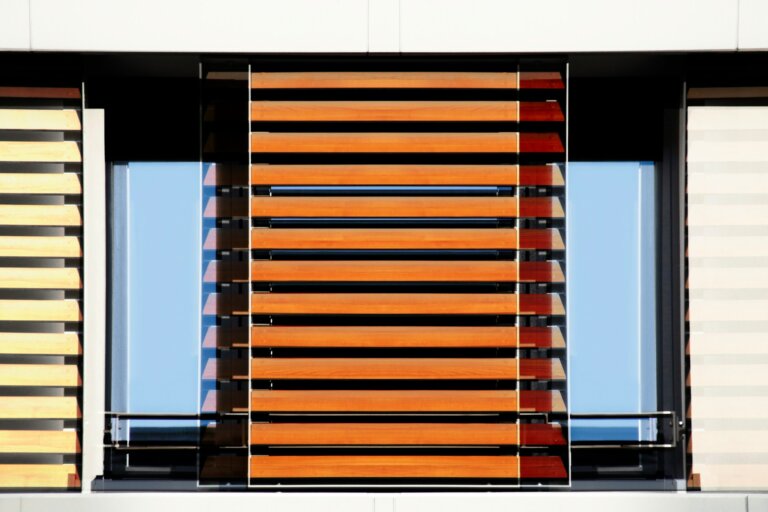
– Choose moisture-resistant shutters for the bathroom, such as those made with uPVC, composite, or treated hardwoods.
– Improve ventilation with an extractor fan, especially if your bathroom doesn’t have a window that opens wide.
– Wipe shutters regularly with a dry or damp cloth. This clears surface moisture before it has time to settle.
– Avoid splashing water directly on shutters, especially around the basin and bathtub.
– Look out for condensation on windows during colder days. If it forms often, there may be a ventilation issue or insulation gap to fix.
For example, one Manchester homeowner noticed regular fogging on her bathroom window that settled on the nearby shutters. After switching to a better fan and using moisture-resistant shutters, the fog disappeared, and the shutters stayed in better shape longer.
When To Seek Professional Help
Some damage is simply too far gone for a quick fix. If your shutters have been exposed to constant moisture over a long period, or if multiple panels are showing signs of deep damage, it’s worth asking for a professional assessment.
Professionals can check the full frame for hidden issues, pick out specific panels for replacement, and handle repairs with the right tools and coatings. They’ll also be able to guide you toward better material options if your current shutters aren’t cutting it for bathroom conditions.
You might want to reach out for help if:
– The slats won’t close or sit flush anymore.
– There’s mould or mildew on or around the shutter frames.
– You’ve already tried repainting once or twice with no improvement.
A professional approach helps avoid patchy results and makes sure your shutters last longer, even in damp rooms with tricky layouts.
Keeping Moisture-Prone Shutters Looking Their Best
Bathroom shutters face a lot more wear and tear than those in other rooms. Steam, heat, and water spots all team up to wear down the materials over time. But with smart habits and early fixes, you can stretch their life and keep them looking great.
Choosing moisture-resistant shutters for the bathroom makes all the difference. Paired with proper care and small updates when needed, they offer long-term peace of mind. Whether it’s spotting damage early, making quick repairs, or improving air flow, each little effort adds to better comfort and fewer upkeep headaches in the long run.
Thinking ahead with the right shutters can keep your bathroom looking fresh for years. When you’re ready to explore better options, our range of moisture-resistant shutters for the bathroom offers durability and style designed to handle humid spaces. At Crafted Shutters, we’re here to help you choose the perfect fit for your home, whether you’re after a quick touch-up or a full upgrade.